Have a Question?

Tutorial: Send IDON (ethereum) from your Coinbase Wallet

Step-by-step guide on how to send IDON (on the Ethereum blockchain) from your Coinbase Wallet.

CAUTION:

Although you can link your Coinbase Wallet to your Coinbase Exchange account, please do NOT send IDON from your Coinbase Wallet to your Coinbase Exchange account. These tokens will get lost forever!

At this moment Coinbase Exchange does not support IDON.

STEP 1. PREPARATION

  1. In order to send tokens to another wallet, you must have IDON tokens in your wallet, and a small amount of ETH to pay for the transaction fee. If you bought IDON from Idoneus, you will have received a small amount of ETH as well. You can check your token balance on the homepage of the wallet.

STEP 2. INITIATE PROCESS

  1. Click on the IDON Token to open the menu for sending and receiving tokens.

STEP 3. PREPARE TO SEND

  1. Next Click on the Send button and a new screen will appear.

From this screen, you can select the amount of tokens you want to send.

VERY IMPORTANT:

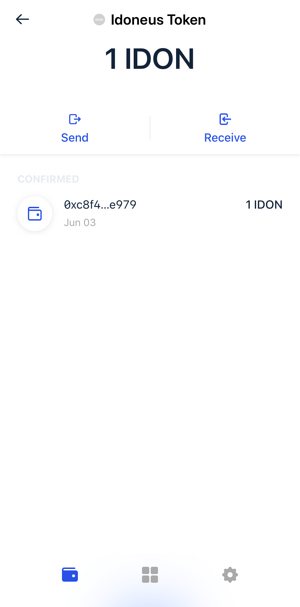
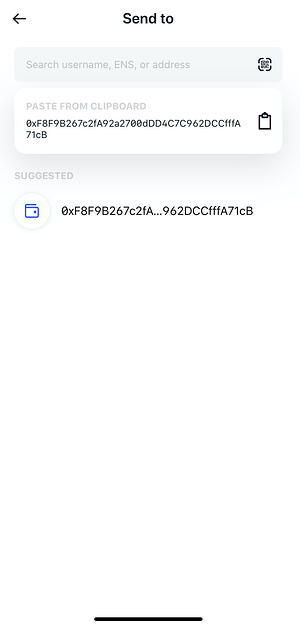
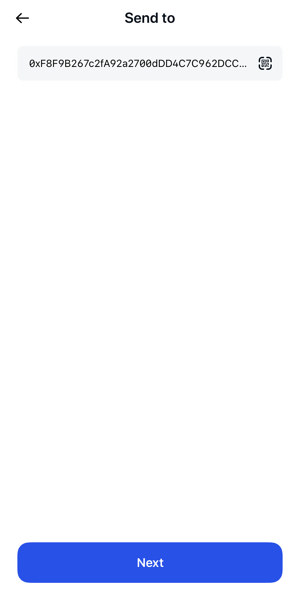
1. Always ensure that you send IDON to a wallet address that can receive IDON.

2. Never send IDON to an ETH wallet on a cryptocurrency exchange. These tokens will get lost forever. Only send IDON to an IDON specific deposit wallet on an exchange that has listed IDON.

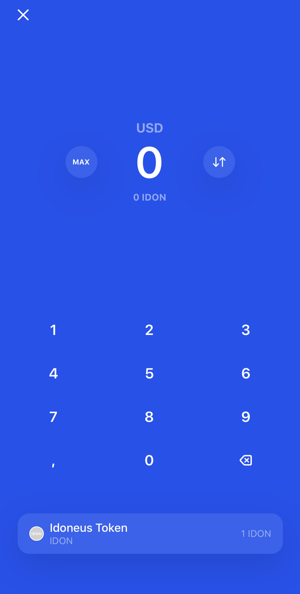
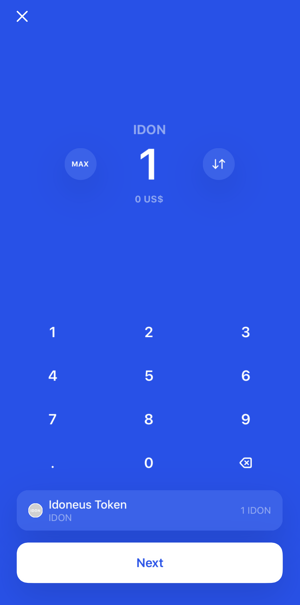
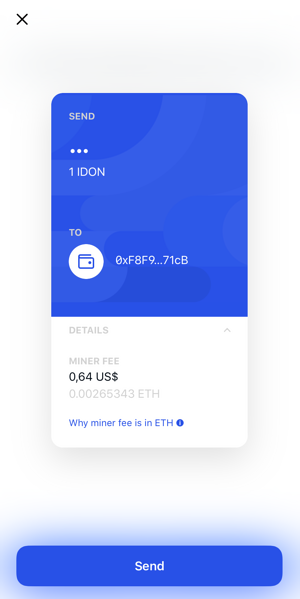
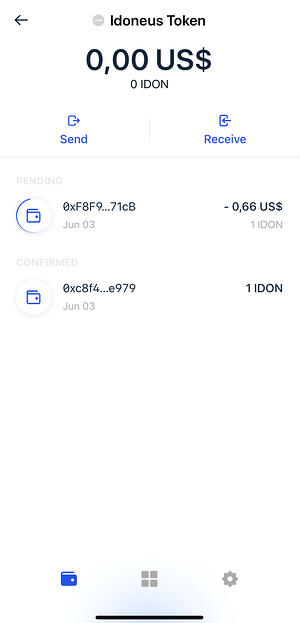
3. Always do a test transaction first for a new recipient. Send for example only 1 IDON (or less). Confirm with the recipient that he/she has received your transaction in good order. Only after that send the rest of the amount of IDON you want to send.

STEP 4. DEFINE AMOUNT

  1. When you select the desired amount, a Next button will appear, please click on it.

STEP 5. ENTER RECIPIENT ADDRESS

  1. On the next screen, in the empty field you have to enter the address of the wallet you want to send tokens to. You can either copy/paste it, or, if you have the QR code address of the recipient, you can select the QR icon in the right corner in the field.

STEP 6. SCAN QR CODE (optional)

  1. This is how the QR code screen is looking like.

STEP 7. CONFIRM RECIPIENT ADDRESS

  1. Once you have entered the recipient address like this, you will be able to proceed and click the Next button.

STEP 8. SEND TRANSACTION

  1. On the next screen, you will see the final details of the transaction. Once you have validated you can click the Send button. Keep in mind that you must have some ETH to pay for the fee of the transaction. The fee is also visible on this screen.

VERY IMPORTANT: Please double check that everything is correct. Once the transaction is sent, it can not be withdrawn.

STEP 9. CONFIRM TRANSACTION

  1. Once you click Send you will be asked to provide a PIN, fingerprint, or FaceID depending on the method for authentication you have chosen during the set up of your wallet.

After the confirmation, the transaction should be present in the transaction history of the token screen.

Once the transaction is mined and finished it will become Confirmed.

STEP 10. TRANSACTION DONE

  1. You are done.

More Information

  1. More information about Coinbase Wallet: https://wallet.coinbase.com/
  2. Coinbase Wallet Help Center: https://help.coinbase.com/en/more/coinbase-wallet
Table of Contents